
A fully colonised grow kit needs about ten minutes of work on the first day and a few minutes a day after that. Set it up as soon as it arrives, keep it warm and moist with indirect light, harvest before the caps open, then soak the tub in cold water for the next flush. The steps below follow the instructions that come with the kits sold by Dutch-Smart, with notes where producers disagree.
Conditions at a glance
| Setting | Target | Note |
|---|---|---|
| Temperature | 21 to 26 °C | Dutch-Smart's guides give 21 to 25 °C and 23 to 26 °C; the FreshMushrooms leaflet calls 23 °C ideal |
| Too cold | below 20 °C | growth slows down a lot |
| Too warm | above 28 °C | higher risk of contamination |
| Humidity | 80 to 95% until pins, then 85 to 90% | the bag does this; you rarely need to spray |
| Light | indirect daylight | never direct sun on the bag |
| Fresh air | open the bag briefly each day, or open the top once pins form | follow your kit's leaflet |
| Water | none while mushrooms grow | only soak between flushes |
The steps
- Day 0 · Unpack. Wash your hands and clean the surface you work on. Take the tub, the bag and the clip out of the box. Lift off the lid, rinse it and put it somewhere clean: you need it again after the first harvest. Do not touch the surface of the mycelium.
- Day 0 · Bag the tub. Put the open tub in the plastic bag with the filter strip or perforation facing up. Fold the opening of the bag under the tub or close it with the clip. The bag now holds moisture in while a little air gets through the filter.
- Day 0 · Find the spot. Choose a place that stays between roughly 21 and 26 °C day and night, with daylight but no direct sun: a shelf in a living room, a kitchen cupboard top away from the cooker. Not on a radiator, not on a windowsill in winter.
- Day 1 to 10 · Wait for pins. Leave the kit alone. Some producers tell you to open the bag briefly every day for fresh air, others leave it closed until pins appear. Both work; follow the leaflet of your kit. Droplets on the inside of the bag are normal.
- Pins appear · Give more air. When you see small knots on the surface or along the side of the tub, stand the bag upright and open the top slightly so some moisture can escape. The FreshMushrooms leaflet expects the first pins after about one week and the harvest about a week after that.
- Growth · Watch the stems. Healthy mushrooms have firm stems and caps in proportion. Long, thin stems with tiny caps mean too much carbon dioxide: open the bag a little more or air it more often. Shrivelled, yellowing pins mean the air is too dry: close the bag a little.
- Harvest · Before the veil tears. Each cap has a thin skin underneath that connects it to the stem. Harvest a mushroom when that veil starts to stretch or tear. Hold it at the base, twist and pull it out whole. The harvest and drying page covers timing and what comes after.
- After harvest · Cold soak. Remove leftover stem bases and aborted pins. Fill the tub with cold tap water, put the lid back on and leave it for 12 hours. Dutch-Smart's Dutch-language guide does this in the fridge, which it calls cold shocking. Then open a corner of the lid and pour all the water out.
- Next flush · Start again. Go back to step 2. Most kits give two to four flushes, with the first usually the largest. Stop when nothing pins after two weeks or when mould appears.
Temperature, in practice
Check temperature first. A room that feels warm during the day can drop to 17 °C at night. A cheap thermometer next to the bag tells you more than guessing.
If the room is too cold, a heat mat under the bag helps. Use it with a thermostat, so the tub stays in range instead of slowly overheating. The FreshMushrooms leaflet describes a heat mat routine: two days on after set-up, off until pins have developed, then on again with the bag slightly open.
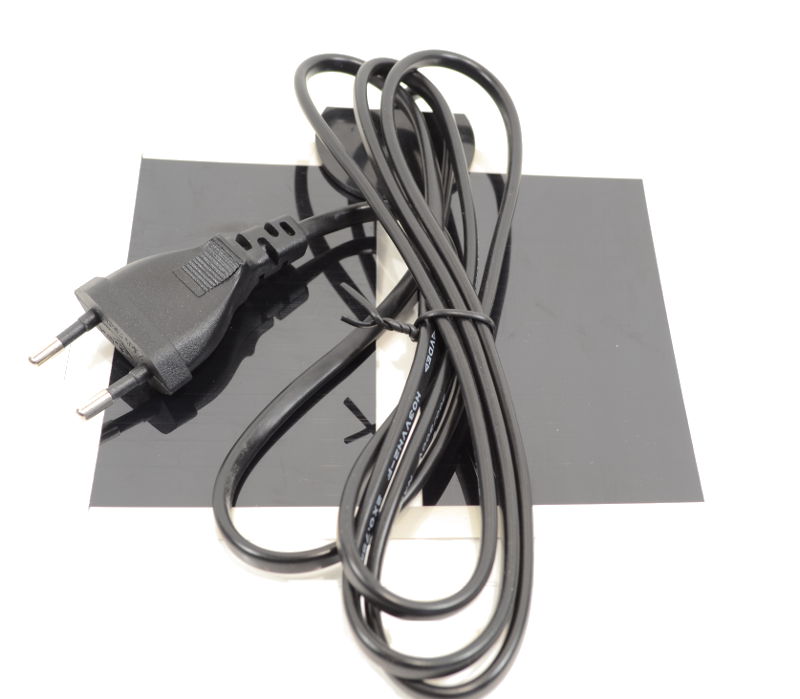 5W heating mat
€14.95Dutch-Smart
Stock ref DS-2715
5W heating mat
€14.95Dutch-Smart
Stock ref DS-2715
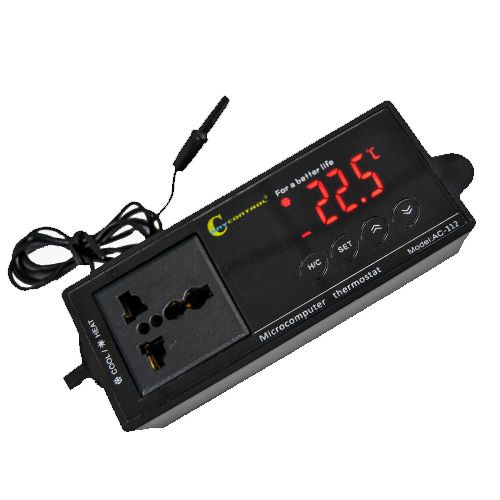 Thermostat 16 to 40 degrees | For heating pad
€39.90Dutch-Smart
Stock ref DS-4773
Thermostat 16 to 40 degrees | For heating pad
€39.90Dutch-Smart
Stock ref DS-4773
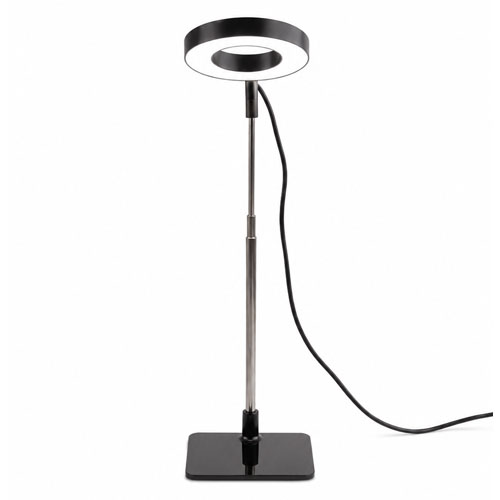 Mondo Grow Light for Mushroom Grow Kits
€11.95Dutch-Smart
Mondo Grow Light for Mushroom Grow Kits
€11.95Dutch-Smart
Light, in practice
The mycelium only needs light as a signal. A few hours of daylight in a room, or a small lamp with a cool white or daylight colour on a timer, is enough. In laboratory work, blue and near-UV light triggered fruiting and red light did not (Badham, 1980), so a warm, yellow bulb is a weak signal. Direct sun is a problem for a different reason: it heats the closed bag far beyond 28 °C.
Humidity and fresh air
The bag creates a small, humid climate around the tub. You can see whether it works: fine droplets on the plastic, and a surface that looks moist but not wet. Puddles in the bag mean it is too wet, so wipe them out with a clean paper towel. A surface that looks dry and pale, or pins that turn brown and stop growing, means it is too dry.
Do not water the mushrooms. Water on caps that stays there for hours can lead to bacterial spots. Penn State Extension describes bacterial blotch on cultivated mushrooms wherever caps remain wet for four to six hours or longer (Penn State Extension).
When nothing happens
| Symptom | Likely cause | What to try |
|---|---|---|
| No pins after 10 to 14 days | too cold, or too dark | check the temperature at night; move to a brighter spot |
| Pins dry out and turn brown | air too dry | close the bag a little; check that it is not near a heater |
| Long thin stems, small caps | too little fresh air | open the bag more, or air it twice a day |
| Water pooling in the tub | too wet | drain it and wipe the bag |
| Blue patches where you touched | bruising | harmless, see contamination |
| Green, grey fluff or orange patches | contamination | close the bag and see contamination |
For a kit that has not pinned after ten days, the FreshMushrooms leaflet suggests taking the block out, putting it back in the tub on its side and starting again with two days on a heat mat.
A note on bigger set-ups
Some growers move their colonised substrate into a monotub, a larger closed box with air holes that keeps humidity stable for several blocks at once. It is a next step after one or two successful kits, not a requirement for a first one.
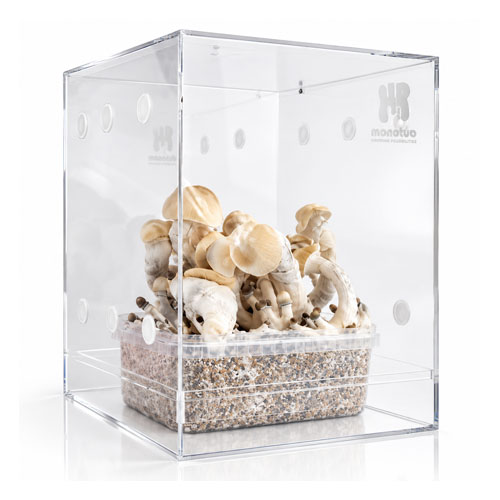
Before you start, read the legal notes for your country. In the Netherlands, for example, selling the kit is legal but the mushrooms it produces are banned.