
Healthy mycelium in a grow kit is white. Blue or blue-green patches where the mycelium or a stem was touched are bruising, a harmless reaction of psilocin with oxygen. Green, grey-fluffy, orange or slimy growth is contamination by a mould or bacteria, and a kit that has it rarely recovers. Dutch-Smart's advice for a kit with green mould is to seal it in a bag, throw it away and disinfect the spot where it stood.
Quick check
| What you see | What it usually is | What to do |
|---|---|---|
| white, cottony to dense, sometimes rope-like threads | healthy mycelium | nothing |
| blue or blue-green stains where it was touched or damaged | bruising | nothing; handle the kit less |
| dense white patch that turns green and powdery | green mould (Trichoderma) | close the bag and dispose of the kit |
| fine grey-white fluff spreading fast over the surface and over mushrooms | cobweb mould (Cladobotryum) | dispose of the kit |
| yellow to brown spots on caps that stayed wet | bacterial blotch | let the caps dry; remove affected mushrooms |
| bright orange, powdery growth | Neurospora | close the bag and dispose of it outdoors |
| sour or rotten smell, slimy surface | bacteria | dispose of the kit |
Blue is not mould
Psilocybe cubensis turns blue where it is damaged. Researchers at the Hans Knöll Institute in Jena identified two enzymes behind this: one removes the phosphate group from psilocybin to form psilocin, the other oxidises psilocin, and the oxidised molecules link up into chains that are blue (Lenz et al., 2020). A follow-up study traced the blue colour to a specific coupled psilocin dimer (Lenz et al., 2021).
In practice: blue stains appear where you pressed the mycelium, along the edge of the tub where it rubbed against the bag, or on stems you handled. They do not spread on their own and they do not turn powdery. Green mould does both.
Green mould
Green mould is caused by Trichoderma species, a well-known problem in commercial mushroom farming as well. Penn State Extension describes it on cultivated mushrooms as a dense white growth followed by extensive green sporulation, with dark green spores (Penn State Extension). That early white stage is what fools growers: at first it can look like a patch of extra-thick mycelium.
Close the bag before you move it. The green colour is spores. Every time the patch is disturbed, spores go into the air, where they can reach your next kit. Seal the bag, take it outside and throw it away with household waste. Wipe the shelf with alcohol.
Cutting out a green patch does not save a kit. Dutch-Smart states that a kit with green mould can almost never be fully recovered.
Cobweb mould
Cobweb mould (Cladobotryum) looks like loose, cotton-like fluff, usually white but sometimes grey, pink or yellow, that spreads over the substrate surface and over pins and mushrooms (Penn State Extension). The difference with healthy mycelium is texture and speed. Mycelium in a kit is dense and stays on the substrate. Cobweb is airy, almost like spider silk, and grows over the mushrooms themselves.
Bacterial blotch and wet spots
Bacteria need standing water. Penn State Extension describes bacterial blotch as lesions on mushroom caps that start pale yellow and later turn golden yellow or chocolate brown, appearing wherever caps stay wet for four to six hours or longer (Penn State Extension). In a kit this happens when water drips from the bag onto the caps, or when the tub was not drained after soaking.
Dutch-Smart's growing guide adds that a rotting smell points to bacterial contamination. A slimy, wet surface with a sour smell means the kit is finished.
Orange mould
Neurospora starts as an orange-white wisp and quickly becomes a bright orange, powdery patch, often within a week (Niloy et al., 2024). The powder is spores. Handle it like green mould: close the bag, dispose of the kit outdoors.
Keeping a kit clean
Once the box is open, contaminants arrive on hands, tools, water and air. You cannot sterilise a kitchen, but you can lower the odds.
- Wash your hands and wear clean gloves when you set up, harvest and rehydrate.
- Wipe the work surface and the clip with alcohol before you start.
- Keep the kit below 28 °C. Dutch-Smart notes that higher temperatures raise the risk of fungal infection.
- Drain all water after a cold soak, and do not spray water on the caps.
- Remove stem bases and small aborted mushrooms at harvest. Dead tissue left in the tub starts to rot.
- Keep a contaminated kit away from healthy ones, and start the next kit in a cleaned spot.
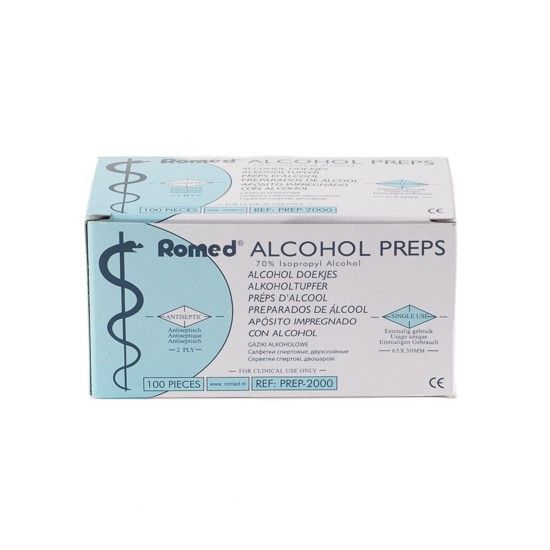 Alcohol Wipes - Prep Pads | 100 count
€9.95Dutch-Smart
Stock ref DS-1588
Alcohol Wipes - Prep Pads | 100 count
€9.95Dutch-Smart
Stock ref DS-1588
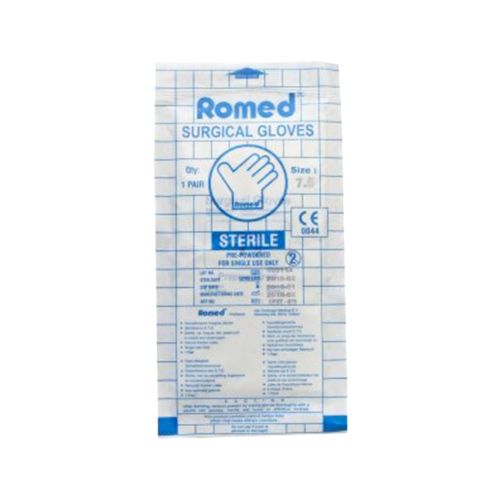 Gloves (sterile)
€1.50Dutch-Smart
Gloves (sterile)
€1.50Dutch-Smart
When to stop
A kit has a limited life. Dutch-Smart expects two to four flushes per kit, with the first usually the largest. A kit that grows a green patch after its third flush has done its job. The grow guide explains how to get the most from the flushes before that, and the kit guide covers what to buy next.